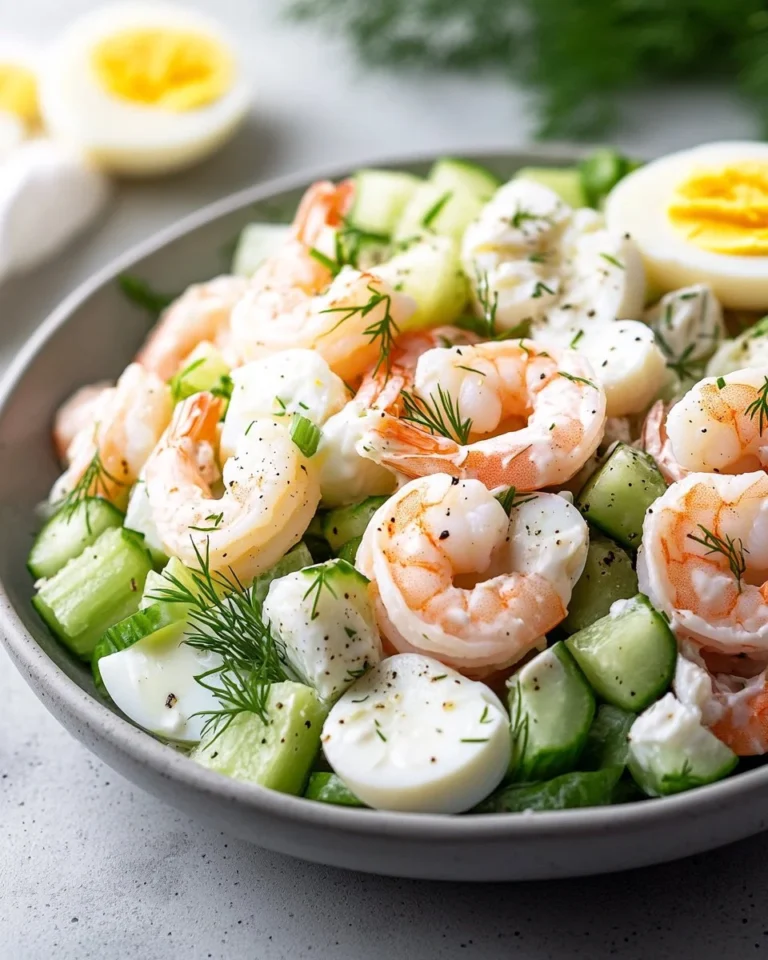
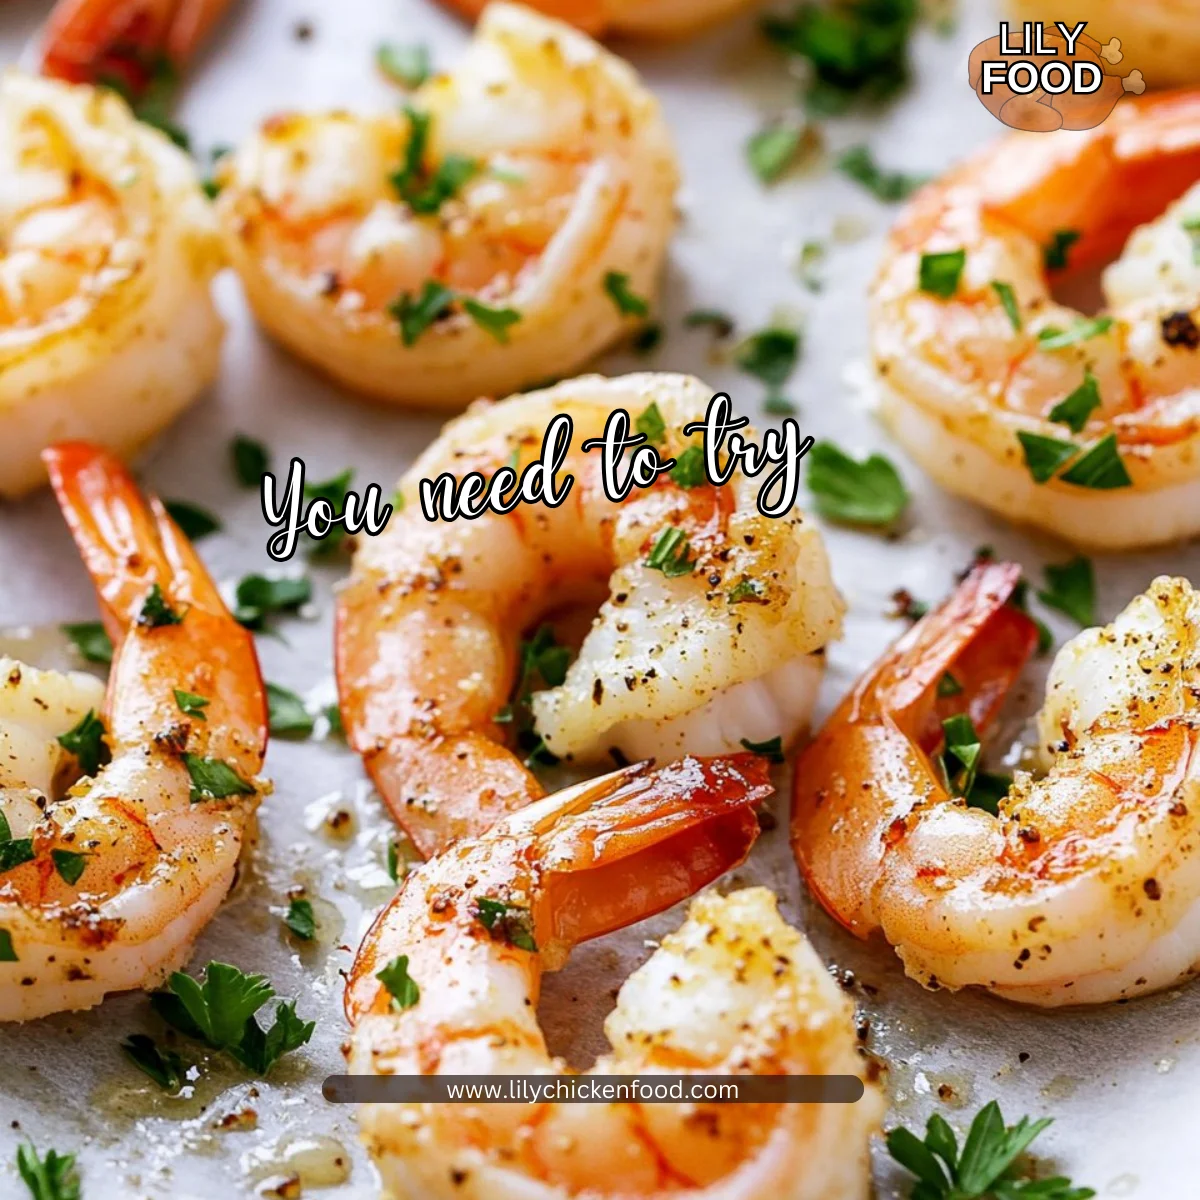
Baked Garlic Shrimp
In the heart of the kitchen, the sound of my kids setting the table fills the air with anticipation. Their chatter mingles with the gentle sizzling of garlic in butter, igniting memories of my grandmother’s house. There, near the dam, the aroma of her cooking was constant—an invitation to gather, share stories, and create heartwarming moments over a meal. Today, I want to share a recipe that builds on those warm memories: Baked Garlic Shrimp.
Why This Baked Garlic Shrimp Feels Like Home
Baked Garlic Shrimp has quickly become a treasured recipe in our household. It’s not just about the taste; it’s the sense of comfort and connection it brings to our busy nights. This dish allows us to come together, share laughter, and enjoy a meal that feels special without requiring hours in the kitchen.
The beautiful thing about this dish is that it celebrates the essence of home cooking. It’s simple, flavorful, and remarkably forgiving. You don’t have to be a culinary master to whip this up. The tenderness of the shrimp, combined with the rich garlic aroma and buttery goodness, makes it feel like a little hug on a plate.
What I love most is how it effortlessly combines with whatever else is in our fridge. Whether it’s a side of roasted veggies or a luscious salad, the shrimp shines brightly at the center of the table. As the oven does its magic, you can enjoy moments with your family, making this not just a meal, but cherished memories.
Why Baked Garlic Shrimp is Our New Family Favorite
We all lead busy lives, and sometimes cooking can feel like a chore. However, Baked Garlic Shrimp has saved our dinners with its ease and flavor. My family looks forward to this meal, often requesting it mid-week because they know it comes together quickly.
The beauty lies in its simplicity. With just a handful of ingredients and a few steps, you create something that tastes fancier than it is. It’s an everyday meal with a hint of elegance, perfect for a cozy family dinner or as a dish to impress a guest. Give it a try—you might surprise yourself!
The Simple Magic Behind Baked Garlic Shrimp
Baked Garlic Shrimp embodies the magic of home cooking where flavors meld beautifully. The golden brown edges of the shrimp, the garlic’s aromatic perfume mixing with melted butter, and the pop of paprika, all tell a story of comfort and warmth.
This recipe marries flavor and convenience. You can prep it all in under 15 minutes, allowing precious time for family or even a moment to unwind after a long day. It’s a little trick I’ve learned—having a go-to dish ready showcases that cooking can be both effortless and stress-free.
Next up, let’s get into the heart of this delicious dish.
How to Make Baked Garlic Shrimp, The Heartwarming Way
“This is where the magic happens—when the aroma fills the kitchen and my kids come running in, asking ‘Is it ready yet?’”
Making Baked Garlic Shrimp is as straightforward as it gets. I enjoy watching the shrimp change color and curl up slightly in the oven, a welcoming sign that dinner is about to be served. You’ll know it’s ready when you catch that delectable aroma wafting through your home.
It’s all about easy steps that guide you through the process. Let me share how to create this delightful dish that will warm hearts and tummies alike.
Ingredients You’ll Need
Gathering your ingredients is a big part of the fun. Here’s what you will need:
- 1 pound shrimp, peeled and deveined
- 4 tablespoons butter, melted
- 4 cloves garlic, minced
- 1 teaspoon paprika
- Salt and pepper to taste
- Fresh parsley, chopped (for garnish)
When you’re at the store, don’t skip on fresh herbs; they truly are the soul of this dish. Even if you have to grab a store-bought option, you’ll still capture the heart of it with these essentials. Remember, you can get creative here. If you have an extra lemon or some chili flakes, toss those in too!
Step-by-Step Directions
The cooking process doesn’t have to be daunting. Each step can be enjoyable and enriching.
-
Preheat the oven to 400°F (200°C).
Starting with a hot oven helps to crisp up those shrimp. -
In a large bowl, combine melted butter, minced garlic, paprika, salt, and pepper.
This mixture is the dipping sauce level—creamy, aromatic, and full of flavor. -
Add the shrimp to the bowl and toss until well-coated.
Let the shrimp get cozy with those ingredients; it sets the stage for deliciousness. -
Spread the shrimp in a single layer on a baking sheet.
This part is important; if they’re crowded, they won’t cook evenly. Think of it like laying them out for a family photo. -
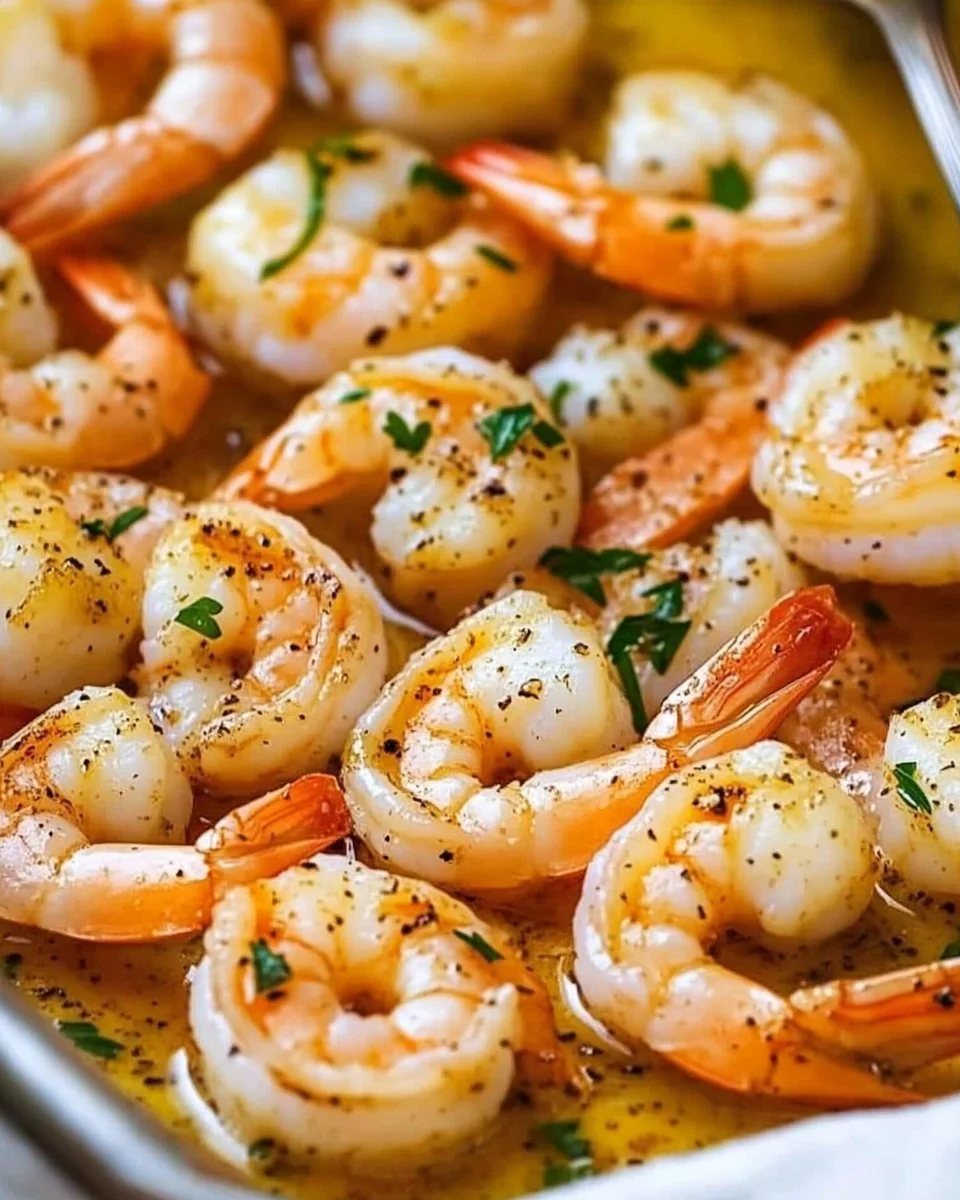
Bake in the preheated oven for 8-10 minutes, until shrimp is pink and opaque.
Watch closely, as they’ll change color beautifully; it’s like a little performance in your oven. -
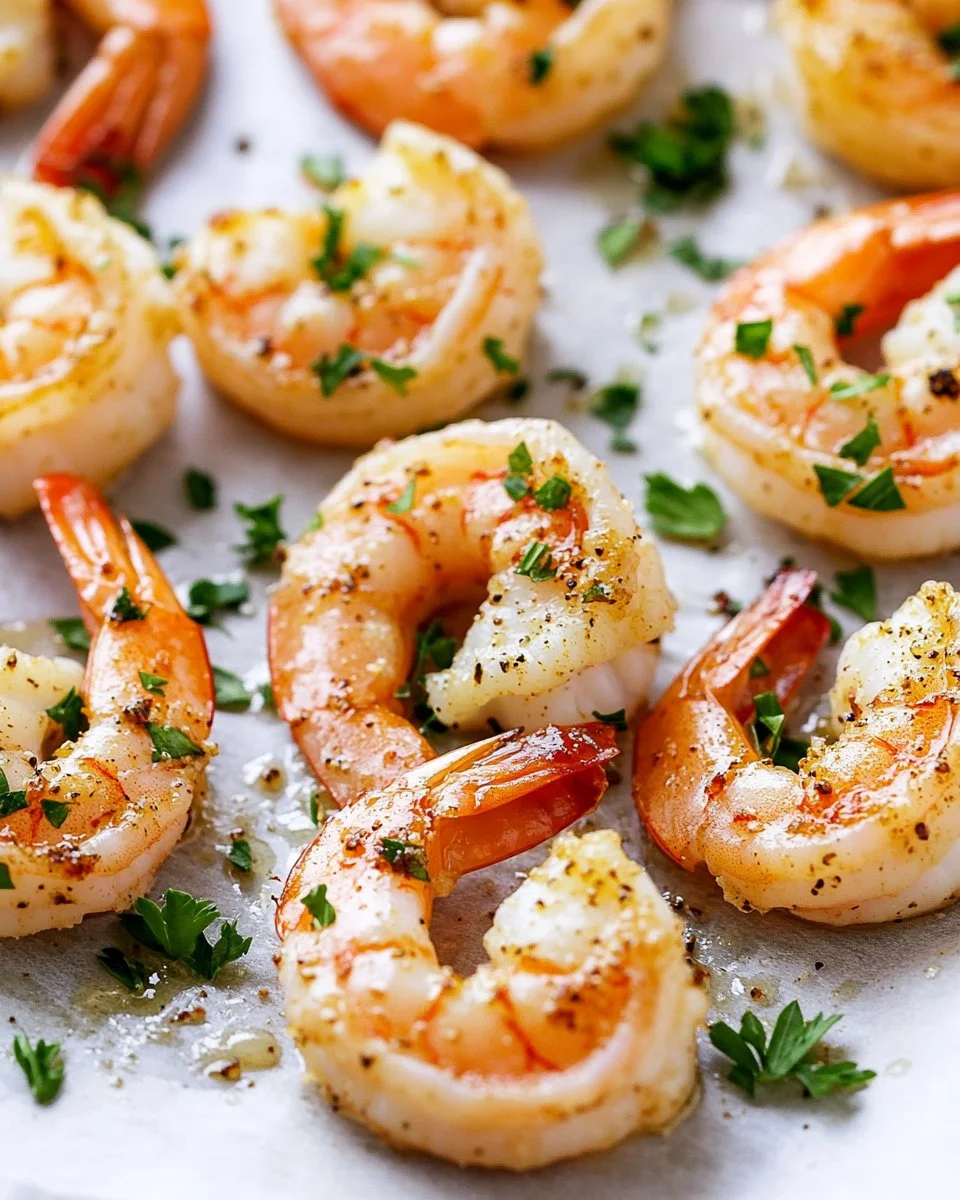
Garnish with fresh parsley before serving.
A sprinkle of green brings the dish to life. Trust me, it’s the finishing touch that makes it shine.
This meal truly comes together with such ease, and I encourage you to embrace the process. Little actions, like letting the kids stir while you supervise, turn cooking into a delightful family affair. There’s no rush; it’s all in the experience, and it’s worth savoring.
Serving Baked Garlic Shrimp with Love
Once the baked garlic shrimp is ready, it’s time for the best part—serving it to your loved ones. At our table, we usually place the shrimp in the center and let everyone help themselves. It becomes a communal experience where everyone shares in the joy of the meal.
Often, I will pair the shrimp with a light salad and crusty bread for dipping into the buttery goodness left on the plate. My kids enjoy squeezing extra lemon on their shrimp, adding that zesty note that brightens each bite. Sometimes, we even sprinkle a little Parmesan cheese on top, just like grandma would do for that extra layer of deliciousness.
Sharing this dish has become a celebration for us. Each bite transports us back to those warm kitchen moments we treasure so dearly.
Storage & Reheat Tips
If you have leftovers—first of all, congratulations! That’s a win. Storing and reheating Baked Garlic Shrimp can be straightforward if you follow these tips to keep the flavors intact.
After dinner, let the shrimp cool completely before transferring them to an airtight container. They can be stored in the refrigerator for up to two days, though they rarely last that long in my home.
When it’s time to reheat, I suggest the oven over the microwave. The oven will bring back that delightful texture while keeping the flavors rich. Just cover it with foil to retain moisture and heat for about 10 minutes at 350°F (175°C). If you’re in a hurry, the microwave is fine, but just be cautious to avoid overcooking.
My Kitchen Notes & Shortcuts
Here are some little nuggets from my kitchen that can streamline your cooking experience:
- Make it Ahead: Prep the shrimp and marinate them in the fridge for a couple of hours before cooking. Just remember to bring them back to room temperature before popping them in the oven.
- Substitutions: If you don’t have fresh garlic, garlic powder can work in a pinch. Just swap 1 clove for about 1/8 teaspoon.
- Kid Involvement: Get your children involved by letting them sprinkle the paprika or stir the shrimp in the bowl. It makes it a fun family event.
- Add Some Heat: A pinch of red pepper flakes can give this dish a pleasant kick. Perfect for those who like a little spice in their life.
- Prep the Sides: Pair this shrimp with a quick side of steamed broccoli or a simple quinoa salad to elevate the dinner without much effort.
Family-Friendly Variations
Baked Garlic Shrimp is incredibly versatile. You can adjust this recipe to fit your family’s tastes or use what’s on hand. Here are a few ways to make it your own:
- Lighten It Up: Swap out some of the butter for olive oil for a lighter version while still maintaining flavor.
- Kid-Friendly Adjustments: If your kids prefer a milder taste, reduce the garlic slightly or keep the paprika to a minimum.
- Add Veggies: Toss in some cut bell peppers or zucchini alongside your shrimp on the baking tray. It adds color and nutrition without extra effort.
- Herbs and Citrus: Play with fresh herbs or citrus like dill or lemon zest to mix things up. It’s all about making it resonate with your family’s favorites.
This dish is a canvas for your creativity. Invite your family to explore changes and make this meal uniquely yours.
FAQs About Baked Garlic Shrimp
Let’s tackle some common questions you might have as you prepare to cook this dish.
Can I make this ahead for a busy week?
Absolutely! For added flavor, let it sit for an hour before baking—it allows the ingredients to get acquainted.
What’s the best shrimp to use?
You can use fresh or frozen shrimp. If using frozen, just be sure to thaw them fully before cooking.
Can I double this recipe?
Yes! It’s easy to double the ingredients. Just make sure to spread the shrimp in a single layer on two baking sheets if necessary.
What if I don’t have fresh parsley?
No worries! You can use dried herbs for a similar flavor profile. Just remember that dried herbs are stronger, so reduce the quantity by half.
One Final Thought from My Kitchen
As you embark on your journey to create Baked Garlic Shrimp, remember the simple joys that come with cooking. Each dish, infused with love and connection, creates a beautiful tapestry of memories at your table. I hope this recipe brings warmth and laughter to your home, just like it has in mine.
If this dish becomes a part of your family gatherings, you can trust that my grandmother is smiling down, proud of the meals that bring us together. Until next time, happy cooking!

Baked Garlic Shrimp
Ingredients
Method
- Preheat the oven to 400°F (200°C).
- In a large bowl, combine melted butter, minced garlic, paprika, salt, and pepper.
- Add the shrimp to the bowl and toss until well-coated.
- Spread the shrimp in a single layer on a baking sheet.
- Bake in the preheated oven for 8-10 minutes, until the shrimp are pink and opaque.
- Garnish with fresh parsley before serving.